
G1 Camera Module Firmware Flashing Guide
G1 Camera Module Firmware Flashing Guide
The G1 camera module is a full-featured camera module kit developed by Wasintek based on the iCatch V39M chip from iCatch Technology. It consists of the camera main board and the camera module, and can be optionally expanded with a Wi-Fi extension board or a network (Ethernet) extension board. If you purchased the G1 camera module and need to flash the firmware after assembly, or if your module is not working properly and needs to be re-flashed, please follow the wired flashing steps below:
1. For first-time use, install the driver on your computer. Click to download the [Driver icatch_v3000_For_V37_V50_V35_V33_K33].
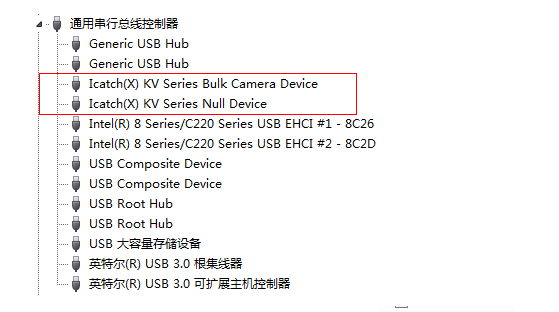
2. Press and hold the OK / Confirm button (Button B) on the camera main board, then connect the board to your computer with a USB cable (connect one end to the Type-C port on the device). Once the device appears in Device Manager on your computer as shown in the figure below, the module has been recognized and you can start flashing.
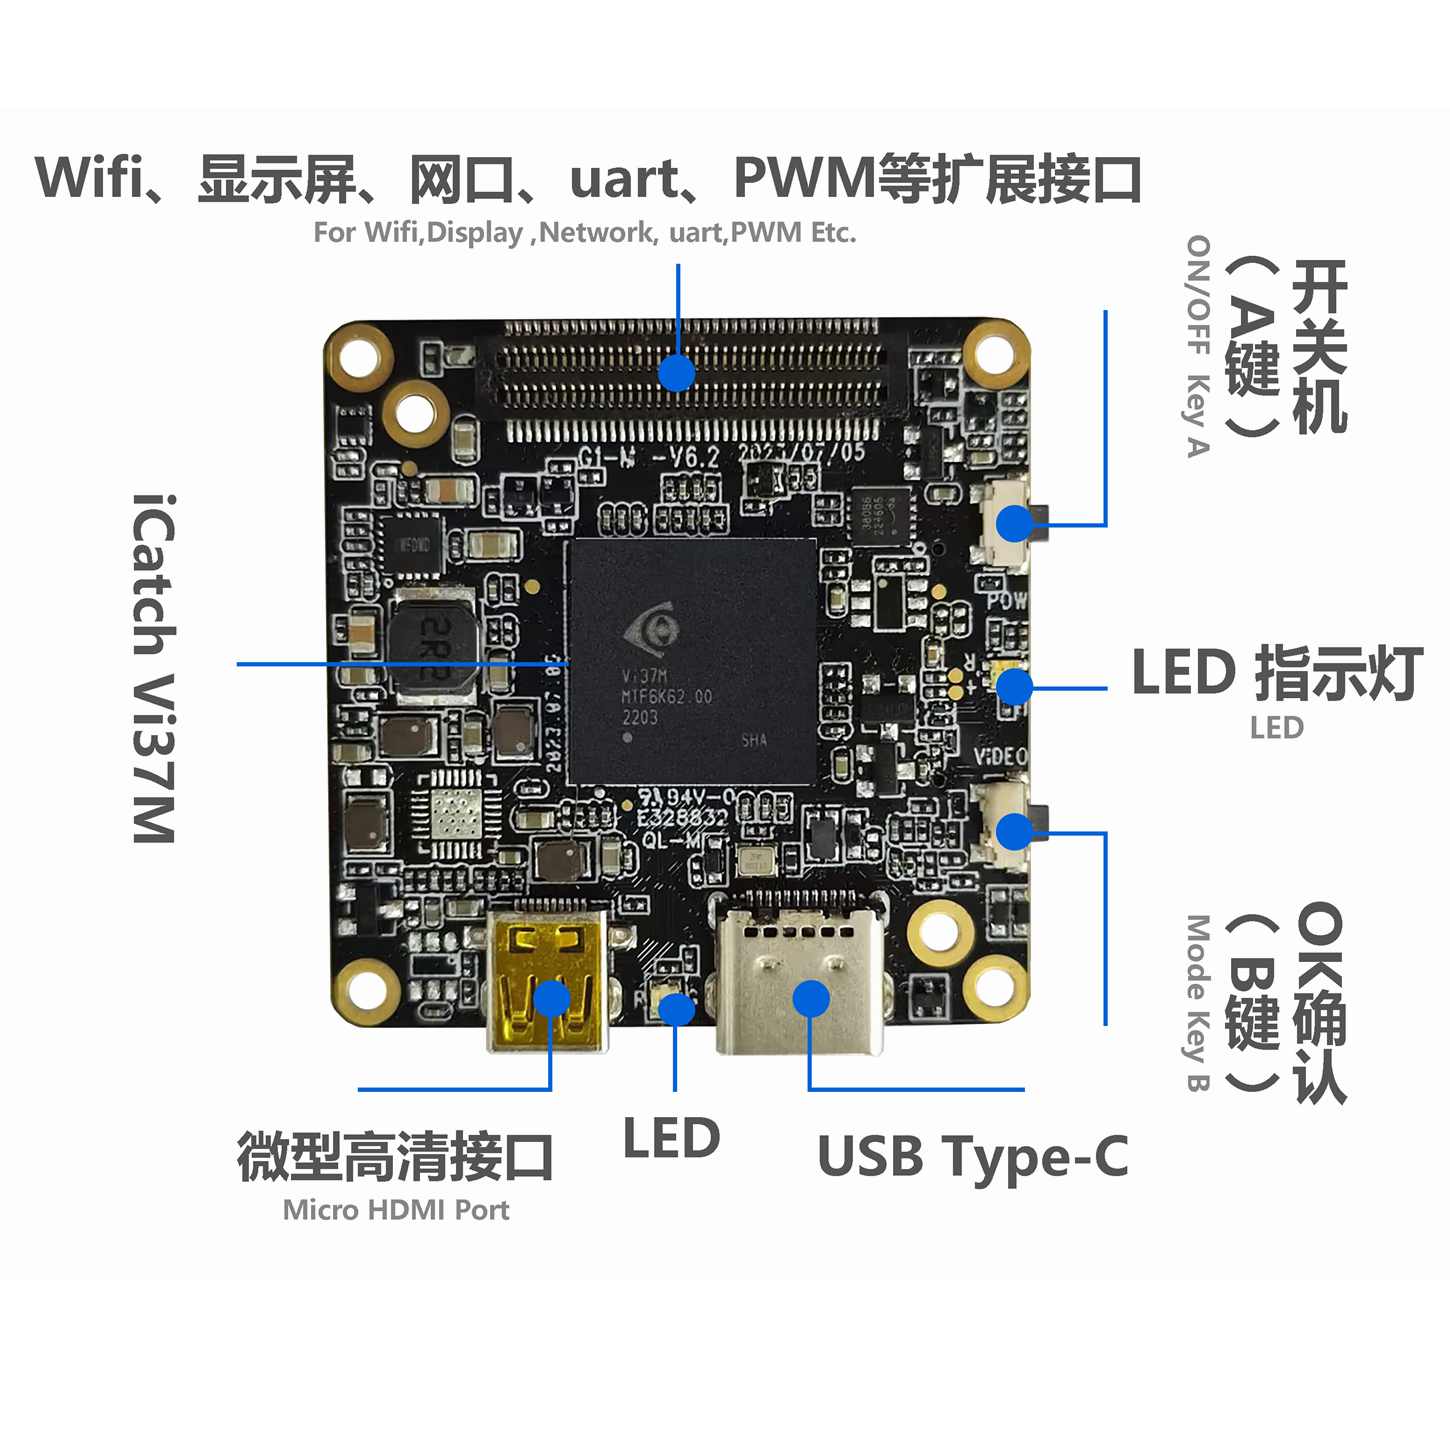
▲G1-M-V6.2 Camera Main Board
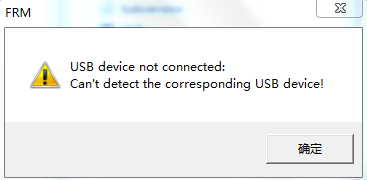
3. Unzip the firmware package, open the "download" folder, locate the flashing tool "FRM.exe" and run it. When the prompt below appears, click "OK".
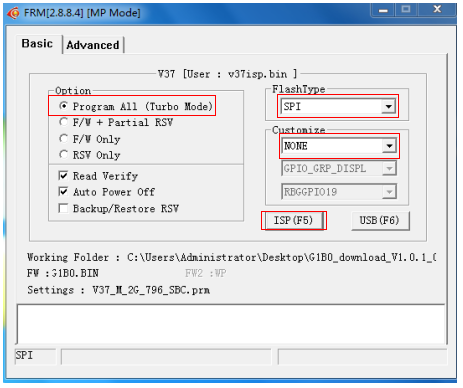
Make the selections marked in the red box in the figure below, then click "ISP (F5)" to start the upgrade.
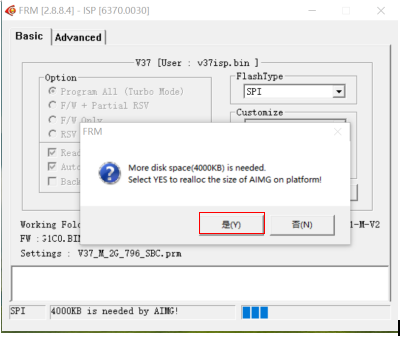
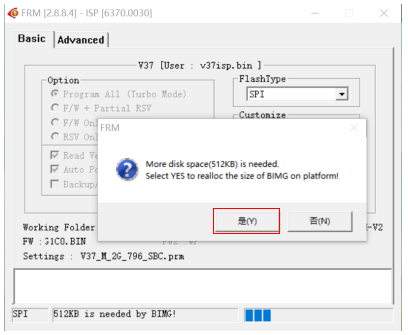
During the flashing process, click "Yes" (the option on the left) when a confirmation dialog pops up. When the firmware upgrade is complete, "ISP Finished!" will be displayed, as shown in the figure below.
Flashing is now complete, as indicated by the "ISP Finished!" message.
